NordVPN is an industry-leading VPN service used by millions of people worldwide each day. There are plenty of reasons for this, one being that it is an immensely simple VPN to install and begin using.
Today, we are going to walk you through the process of downloading and activating a NordVPN subscription and installing the software on your Windows PC or laptop.
Creating a NordVPN Account
Before you install NordVPN, you have to create an account and have an active subscription.
If you are a brand new user of NordVPN, you can take advantage of their 30-day money-back guarantee here. This provides you with protection by giving you the right to get a refund if you are dissatisfied with the NordVPN service, all you need to do is email Nord’s customer support and ask for it.
This means there is zero risk of you losing out on your hard-earned cash by paying for a service that isn’t suitable for you.
Feel free to read the NordVPN review to first understand what you’re signing up for.
1. Visit NordVPN’s registration page
To use NordVPN, you need to create an account and have an active subscription. Although you must pay for this subscription, remember that you are backed by their 30-day money-back guarantee.
2. Choose a plan

You have 4 different options here. We recommend buying a 3-year plan since this has the most value attached to it. $2.99 per month for a top shelf VPN is an absolute steal. All plans are protected by the 30-day money-back guarantee, too.
3. Activate your account via email
When you have selected and paid for your plan, NordVPN will send you a confirmation email with an account activation link.
You must activate your NordVPN account via email otherwise the VPN won’t work when you download and install it.
Downloading and Installing NordVPN on Windows
Once you have created your account and activated your free account, you are ready to install NordVPN onto your Windows PC or laptop.
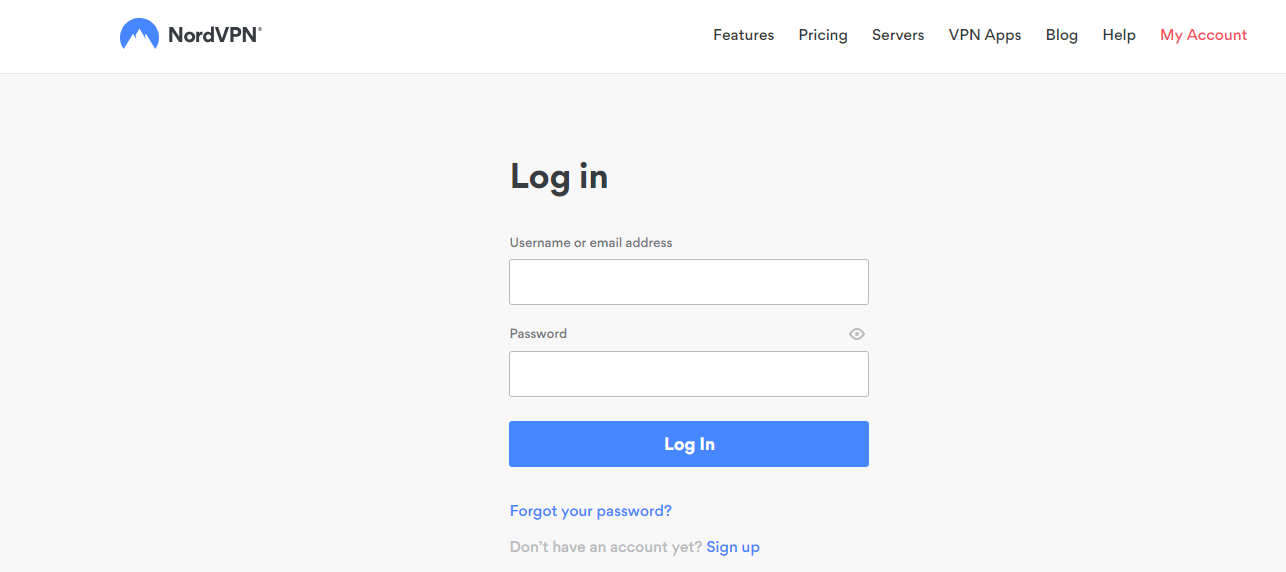
1. Log in to the NordVPN UCP (link will be given once you pay)
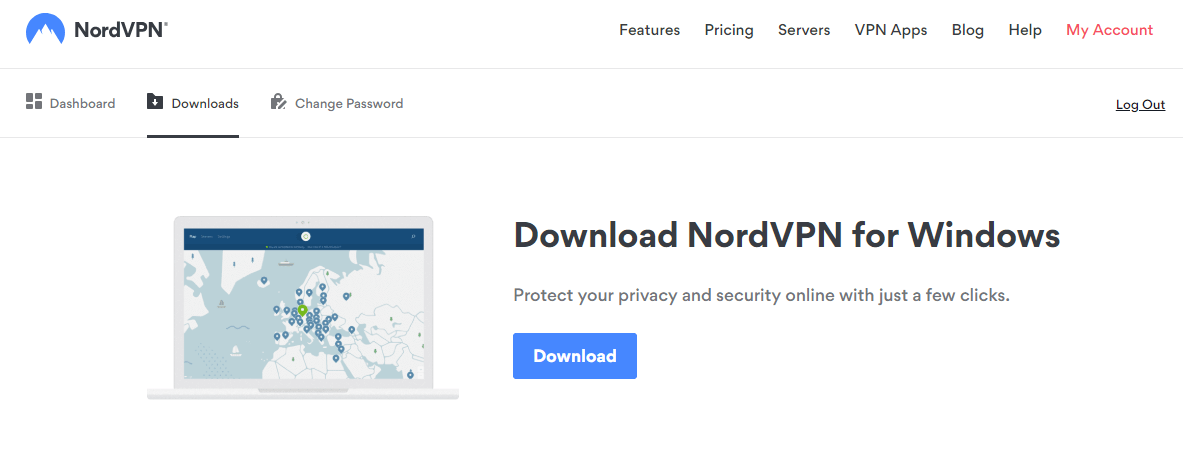
2. Click on ‘Downloads’ then click the Download button under the Windows section
3. Run the NordVPN Setup File
You should see a file called NordVPNSetup.exe appear at the bottom of your web browser. When it’s finished downloading, simply click on it to launch the NordVPN installation wizard.

If your computer asks if you would like to let NordVPN make changes to it, simply click on ‘Agree’ or ‘Yes’.
4. Go through the installation process
On Windows, this is simply a case of clicking ‘Install’ and letting the program do its work.

5. That’s it! You’re done
Once the installation wizard has done its thing, you are ready to begin using NordVPN. You should see this screen if everything has worked as it should have—

This is the main NordVPN screen where you control everything from.
How Do I Use NordVPN?
If this is the first time you have used a VPN service, you may be a little confused about what you need to do. Don’t worry—we all had to get to grips with VPNs at one point or another.
Luckily, NordVPN is incredibly easy to use. Connecting to a secure and encrypted server is as simple as a few clicks of a mouse, literally!
You have five ways of connecting to a server—
1. Press ‘Quick Connect’ and let NordVPN choose your most optimum server

2. Click the blue tabs on the map to connect to a server in that country

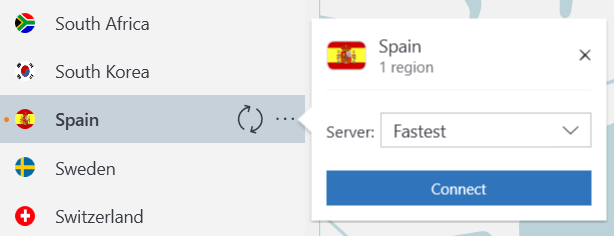
3. Click on a country on the left-hand-side to connect to its best server (it was UK for us at the time of testing)

4. Click the three dots (…) next to a country’s name to choose a specific server
5. Click on one of the ‘Specialty Server’ options optimized for specific use
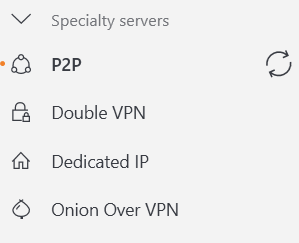
Where you choose to connect is entirely up to you. Although some servers are optimized for certain activities (e.g. P2P servers for torrenting files), all of them can be used for any purpose. All Nord’s servers are fast, secure, and follow the same standards when it comes to encryption and data handling.
Finally, Take a Look at NordVPN’s Settings
Before you start using NordVPN, you should look at the app’s settings.
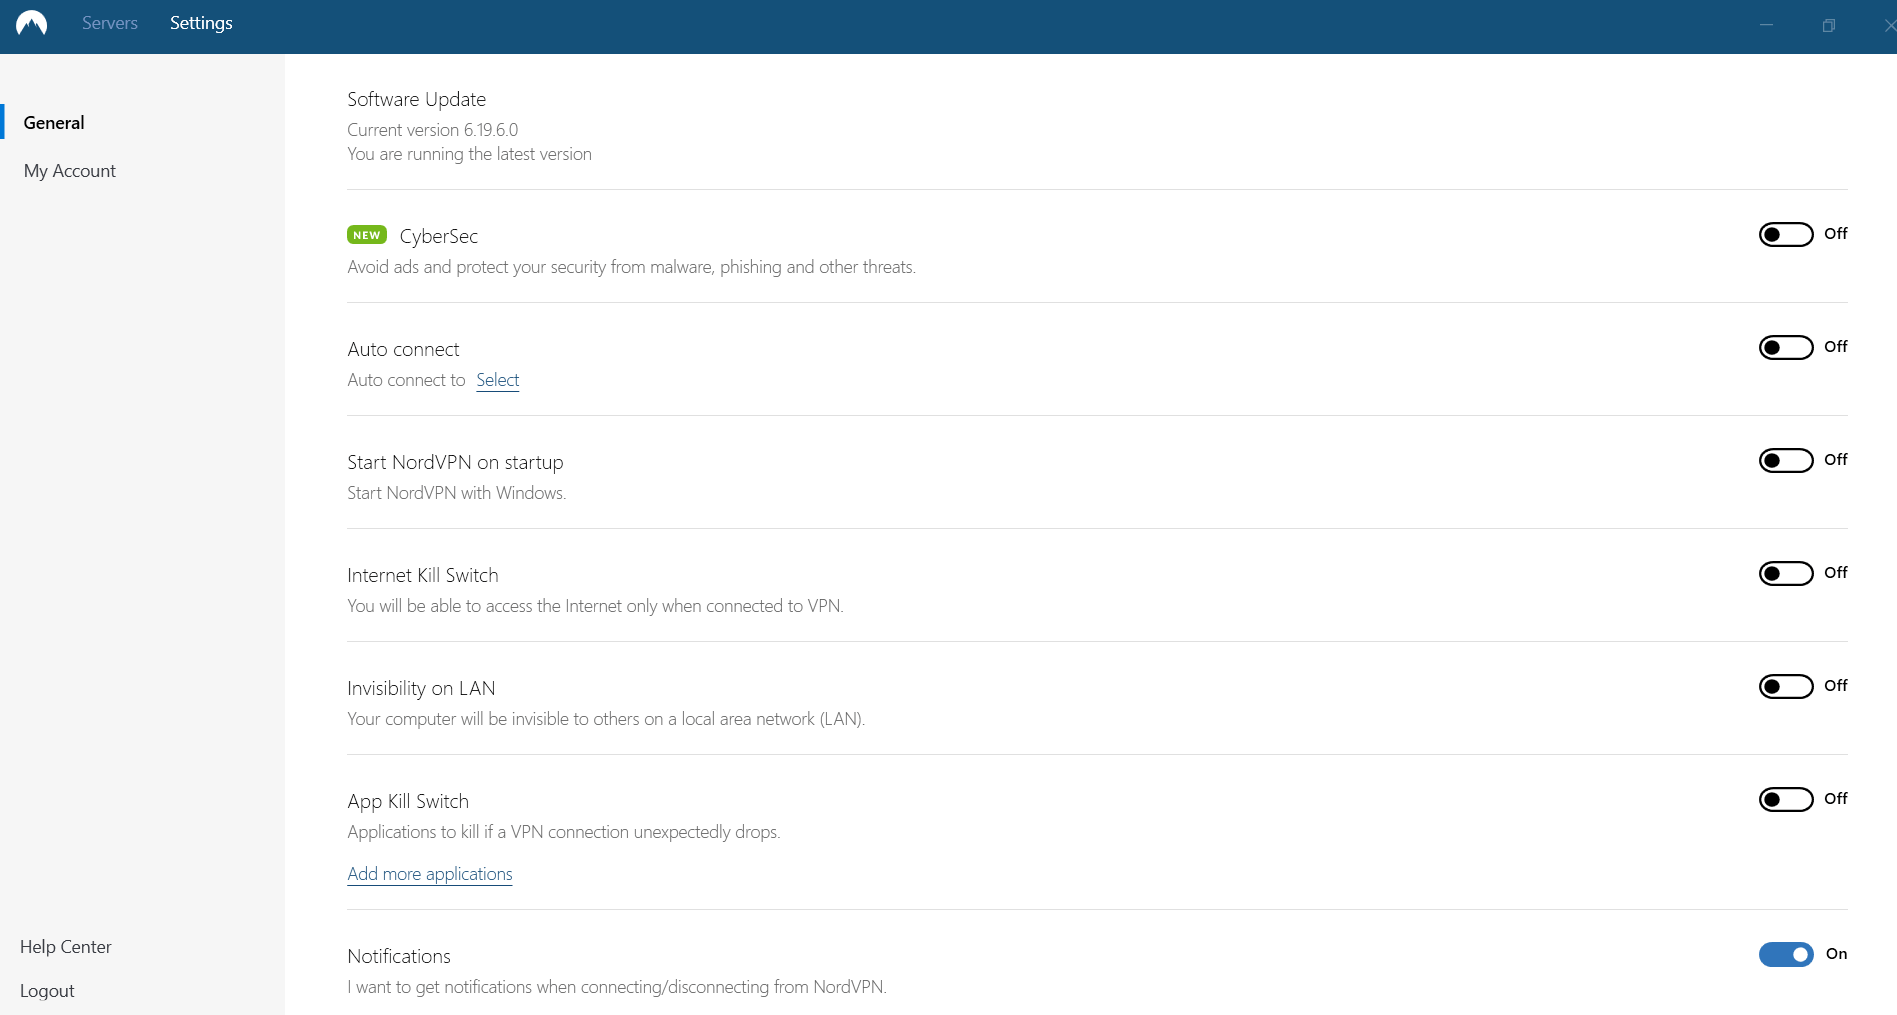
Here are the settings we recommend—
- CyberSec: On
CyberSec is Nord’s anti-malware and ad-blocking feature. - Auto-Connect: On
NordVPN will automatically connect and remain connected to the network - Start NordVPN On Startup: On
You won’t need to worry about manually booting up NordVPN - Internet Kill Switch: On/Off, dependent on preferences
Turn this to ‘On’ if you want to only use the internet when connected to a VPN - Invisibility on LAN: On/Off
This is largely redundant since most connections are via Wi-Fi - App Kill Switch: On—you must turn this on for complete protection
A kill switch blocks your internet connection if your VPN connection drops - Notifications: On
Be notified when NordVPN connects, disconnects, or something important happens - Start Minimized: Off, but turn to ‘On’ when you get comfortable with the app
There are a whole bunch of additional settings under ‘Show advanced settings’ but you should leave these alone unless you know what you are doing.
Leave a Reply